


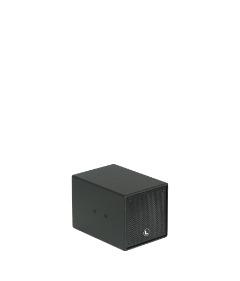
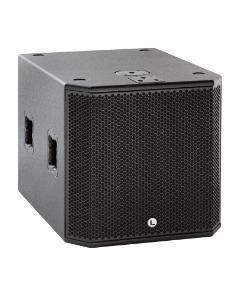
Ionic 12S
Omnidirectional subwoofer
Ultra-compact, self powered (class D switch mode power supply with PFC), omni-directional subwoofer cabinet.
Description
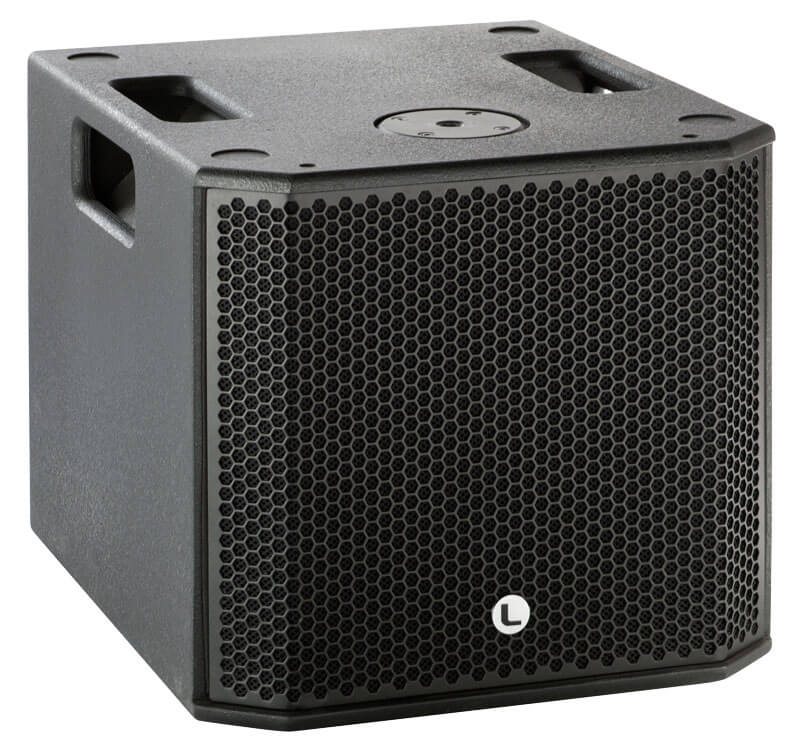
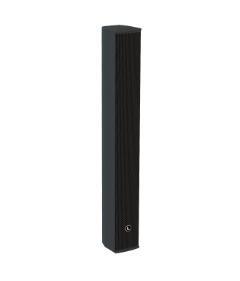
The ionic-12S is a powered subwoofer enclosure part of the Ionic series. The ionic cabinets are compact, modular and powerful and the complete series includes two subwoofers and two column models.
The ionic-12S uses 1 x 12” (3” voice coil) neodymium transducers offering an ultra compact subwoofer enclosure with 127dB SPL. The power module (Class D with switching power supply) includes a Digital Signal Processor which offers different presets to cover a wide range of sound applications complementing the column speakers.
Ionic-12S provides quick and easy set ups for both fixed installations and portable applications.
Perfectly suited for:
| → PA system | |
| → Clubs & Theatres | |
| → Houses of Worship | |
| → Solo artists, band, DJ | |
| → Public buildings | |
| → Commercial complex |
Technical Data
Components |
1 x 12″ speaker with 3″ voice coil |
| Frequency Range | 40 Hz – 250 Hz (-10dB) |
Frequency Response |
46 Hz – 250 Hz (± 3dB) |
| Max SPL | 127 dB |
Coverage Angle |
Omnidirectional |
| Power | 1400W Class D with switching power supply & PFC |
LF Amplifier |
1 x 700 W |
| Speaker Output Amplifier | 1 x 700 W @ 8 Ω |
Processing |
Internal Lynx Processor DSPB-FL.
|
| Control | User control interface with 2.8″ IPS screen |
Control Connections |
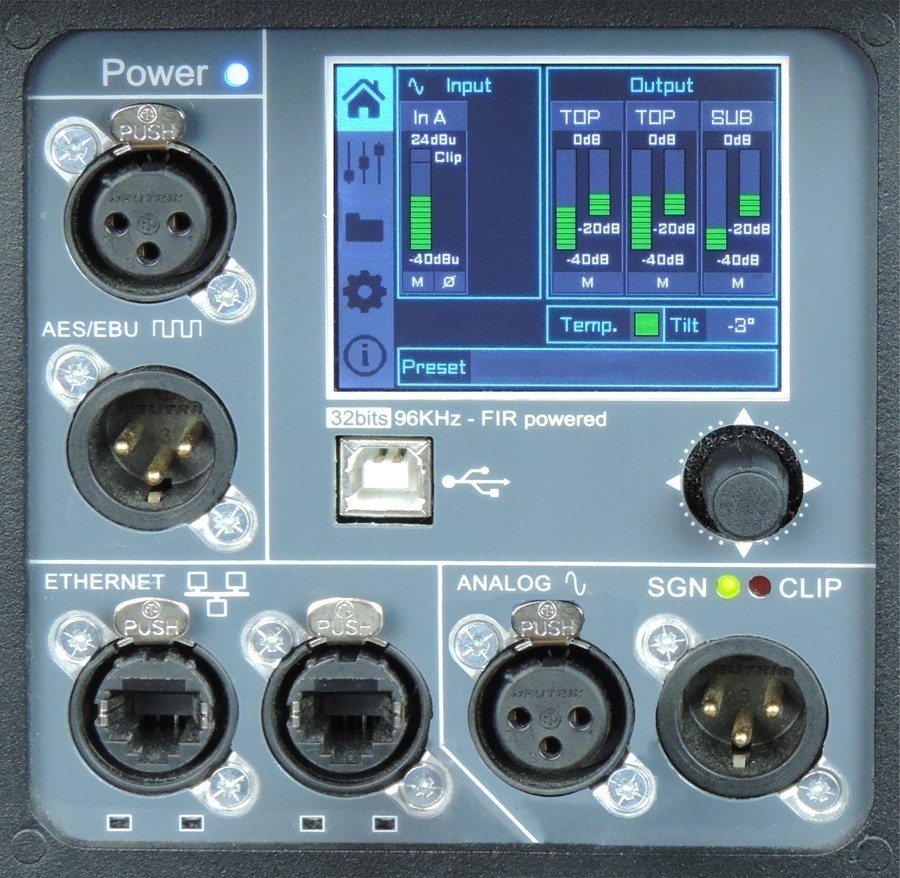
Ethernet (OCS) / USB (DSP programming) |
Input |
Analog / AES3 (optional) |
| AC Power | 85 – 270V. 50/60 Hz with PFC |
AC Connections |
16A Neutrik powerCon TRUE1 TOP with looping output |
| Finish | Polyurea coating, black colour |
Material |
15 mm premium birch plywood |
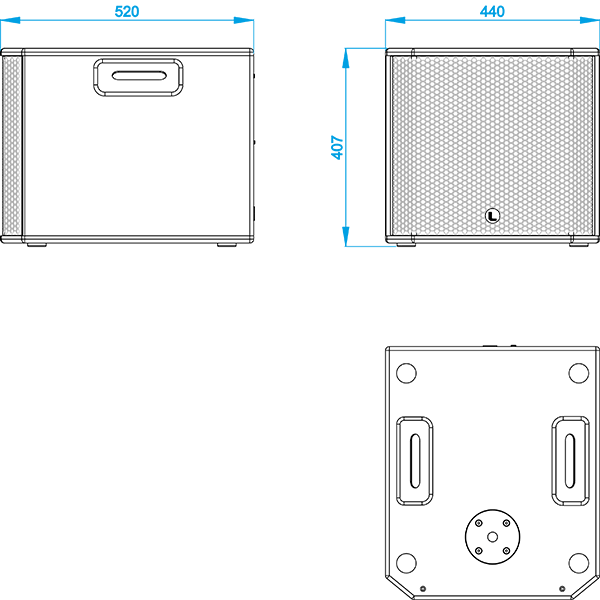
| Dimensions | 407 x 440 x 520 mm (H x W x D) |
Weight |
23 kg (50.6 lbs) |
 DSP configuration
DSP module configuration panel
On the back pannel of the cabinet you will find the digital control area. From the compact joystick located below the screen you are able to configure the basic adjustment functions of the internal DSP.
Just move the joystick to select the icons on the left of the screen. You can enter into the following functions: Home, settings, folder, configuration and information. Please note that you must apply the desired configuration in each one cabinet and requires electrical power to work.
If changes are not made the display will automatically dim to avoid unnecessary light in situations where light is not wanted. To re-activate the light simply press the joystick.
The following screens are an example and may vary slightly for each cabinet.
Configuration panel:
 |
HOME On the main screen you can see the cabinet’s input and output: • Input: You can see a vumeter with the input level and a clip signal. • Output: You have a vumeter with the output level (0 dBu is the amp’s maximum level) You can check the compressor and control the dynamic activity. |
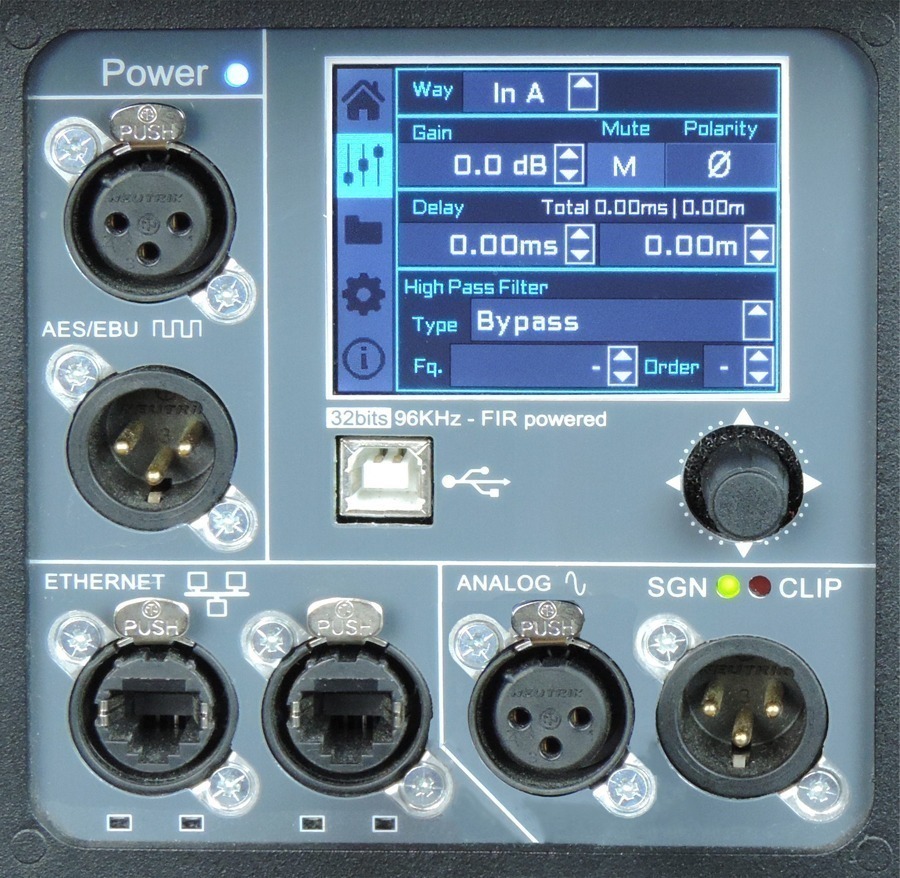 |
SETTINGS This panel allows you to change the gain, polarity, mute and the delay for the inputs. You also have the possibility of putting a high pass, changing the type of filter, frequency and order.
|
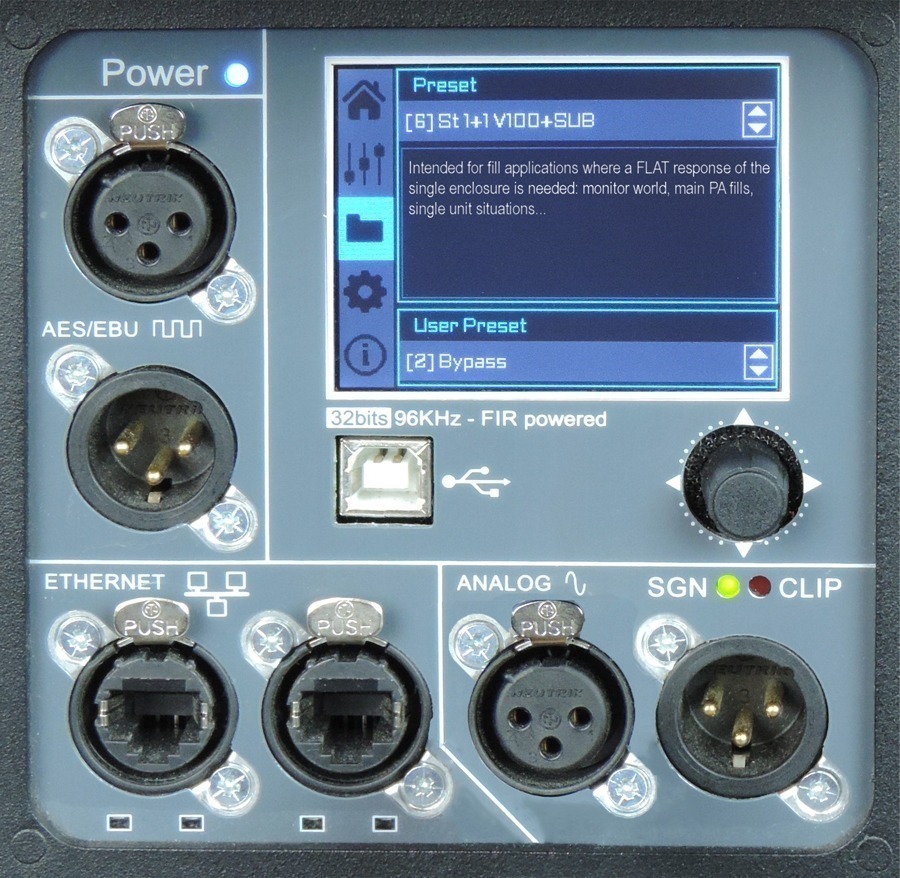 |
FOLDER The folder screen shows you the name of the preset and its description. Using the joystick you can change the preset. |
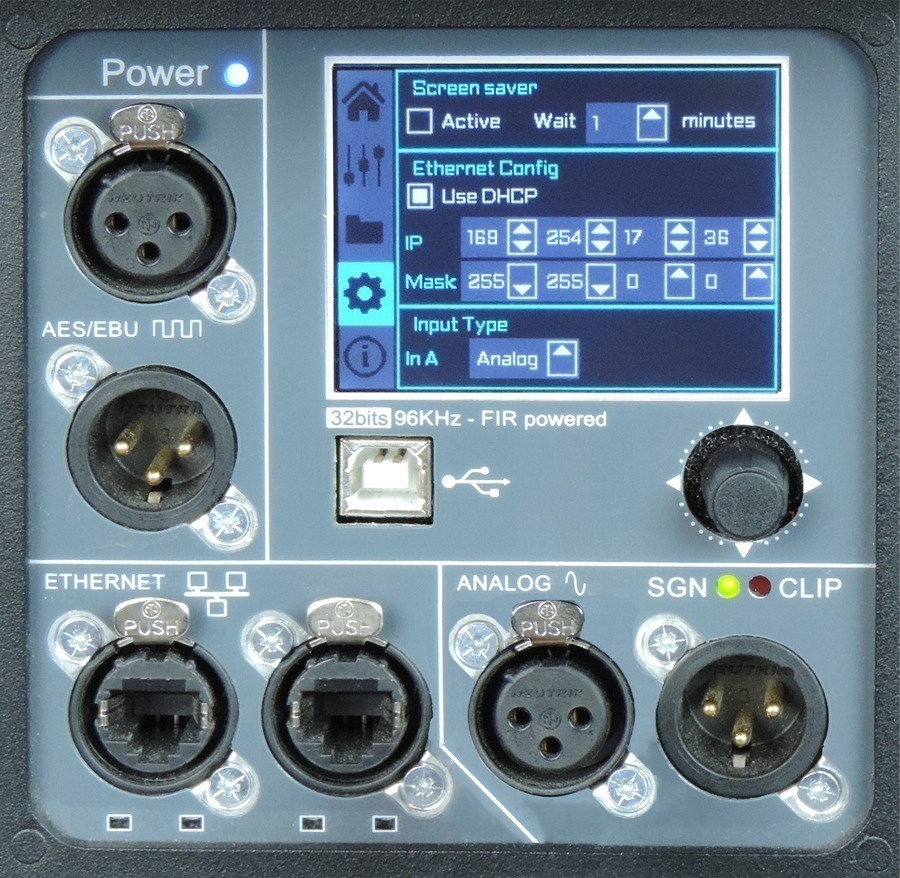 |
CONFIGURATION This screen is to configurate Ethernet. You can choose automatic or manual. You can also configure the screen saver. And here you have the input selection. You can choose between analog or AES3 for channel 1 or channel 2. |
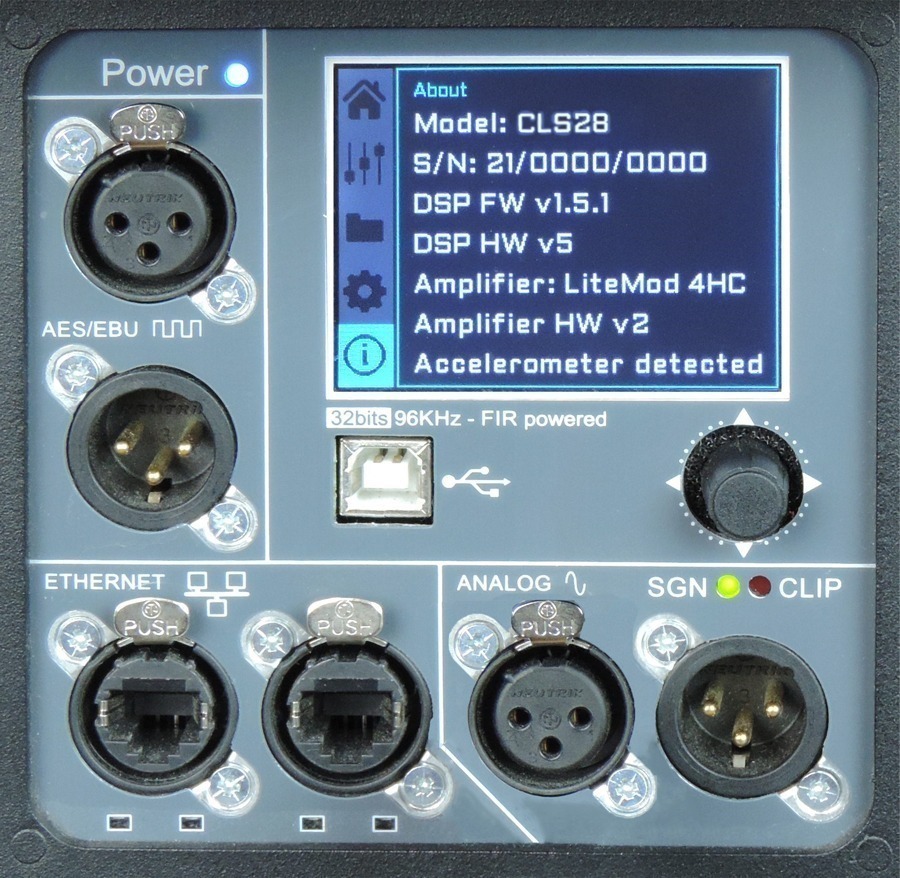 |
INFORMATION The last screen shows you some general information regarding the cabinet’s components. Here you can see the cabinet model, its serial number, DSP firmware and hardware versions, amp module model with hardware version, as well as the accelerometer status. |
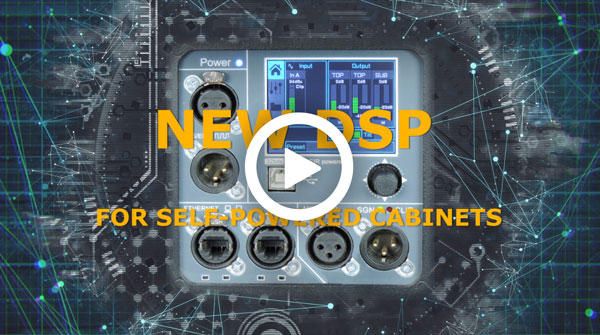
Watch the following TUTORIAL to understand how it works:
DSP module configuration panel
On the back panel of the cabinet you will find the digital control area. From the compact joystick located below the screen you are able to configure the Basic adjustment functions of the internal DSP.
Just move the joystick to select the icons on the left of the screen. You can enter into the following functions: Home, settings, folder, configuration and information. Please note that you must apply the desired configuration in each one cabinet and requires electrical power to work.
If changes are not made the display will automatically dim to avoid unnecessary light in situations where light is not wanted. To re-activate the light simply press the joystick.
The following screens are an example and may vary slightly for each cabinet.
HOME
On the main screen you can see the cabinet’s input and output.
• Input: You can see a vumeter with the input level and a clip signal.
• Output: You have a vumeter with the output level (0 dBu is the amp’s maximum level) You can check the compressor and control the dynamic activity.
SETTINGS
This panel allows you to change the gain, polarity, mute and the delay for the inputs.
You also have the possibility of putting a high pass, changing the type of filter, frequency and order.
FOLDER:
The folder screen shows you the name of the preset and its description.
Using the joystick you can change the preset.
CONFIGURATION:
This screen is to configurate Ethernet. You can choose automatic or manual. You can also configure the screen saver.
And here you have the input selection. You can choose between analog or AES3 for channel 1 or channel 2.
INFORMATION:
The last screen shows you some general information regarding the cabinet’s components.
Here you can see the cabinet model, its serial number, DSP firmware and hardware versions, amp module model with hardware version, as well as the accelerometer status.
Watch the following TUTORIAL to understand how it works:
More features
Hardware for Ionic-12S
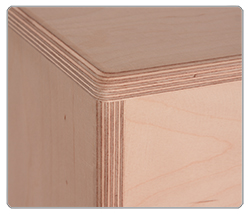 |
EnclosureThe IONIC-12S cabinet is constructed from 11-ply premium birch plywood (15mm thickness) and finished with polyurea coating |
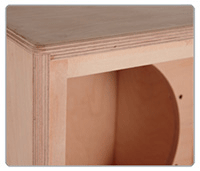 |
Internal designThe internal structure of the IONIC-12S is heavily braced for greater longevity and all parts are assembled on metal inserts with metric screws. The amplification modules & DSP are housed in a separate chamber to the drivers. |
 |
Rear panelThe powder coated steel rear panel contains all connections and houses the IONIC-12S amplification modules and DSP, is easily accessible and housed separately from the drivers avoiding excessive heat & vibration, thus delivering greater efficiency and reliability. |
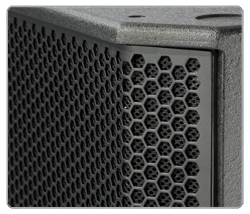 |
GrillThe IONIC-12S has a heavy duty, powder coated front grille with a special acoustic rear fabric to protect the transducers against dust and dirt. |
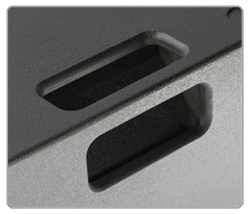 |
HandlesOne handle is located on each side of the enclosure to facilitate transport and positioning of the cabinets. |
Accessories for Ionic-12S
 |
FD-IONIC12S
Nylon Protection Cover for ionic-12S
|
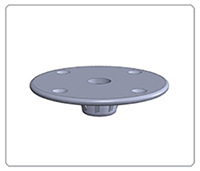 |
VSM-V2 M20 connector plate for M20 pole support TU-C02
|
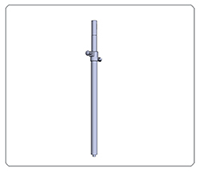 |
TU-C02 M20 pole support for combination between sub and satellite cabinet
|
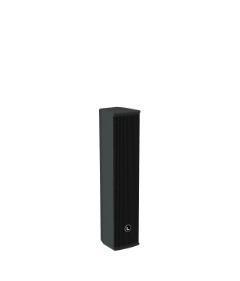
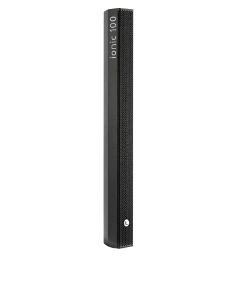
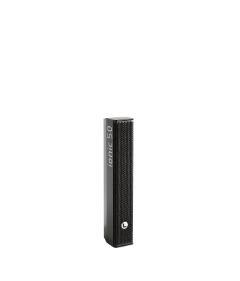
Other products from this series
Featured references
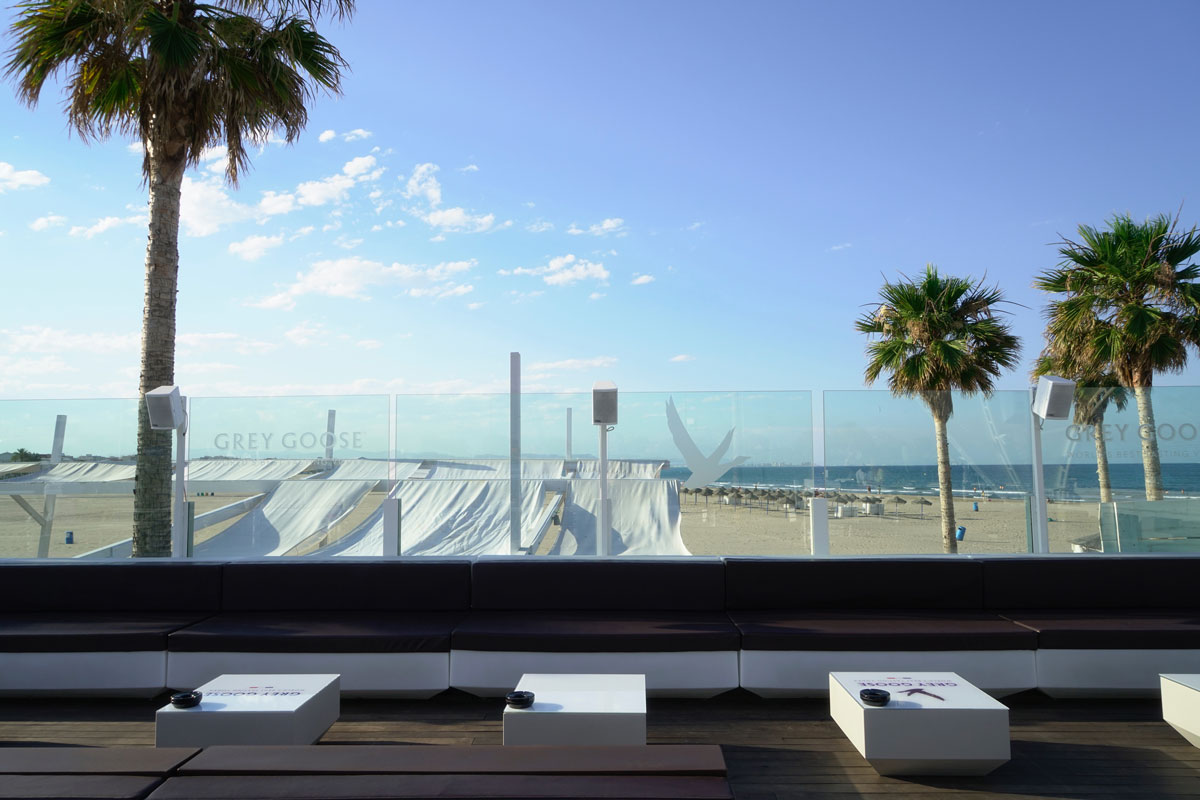
Marina Beach Club, party near the Mediterranean sea
Located in Marina Real Juan Carlos I, Valencia, the Marina Beach Club is fast becoming one of the trendiest , go-to spots in the city…
Read more
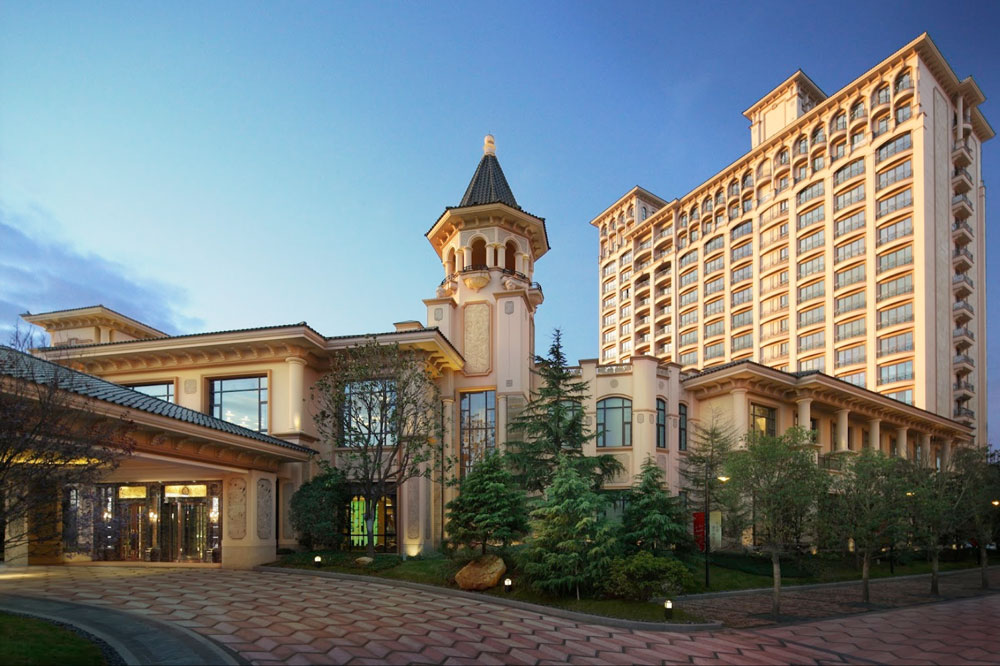
Shanghai 5 Star Hotel
The Star River Hotel of Shanghai is a 5-star luxury international hotel which boasts 260 rooms featuring relaxing waterfront views alongside the Bund of Huangpu river…
Read more
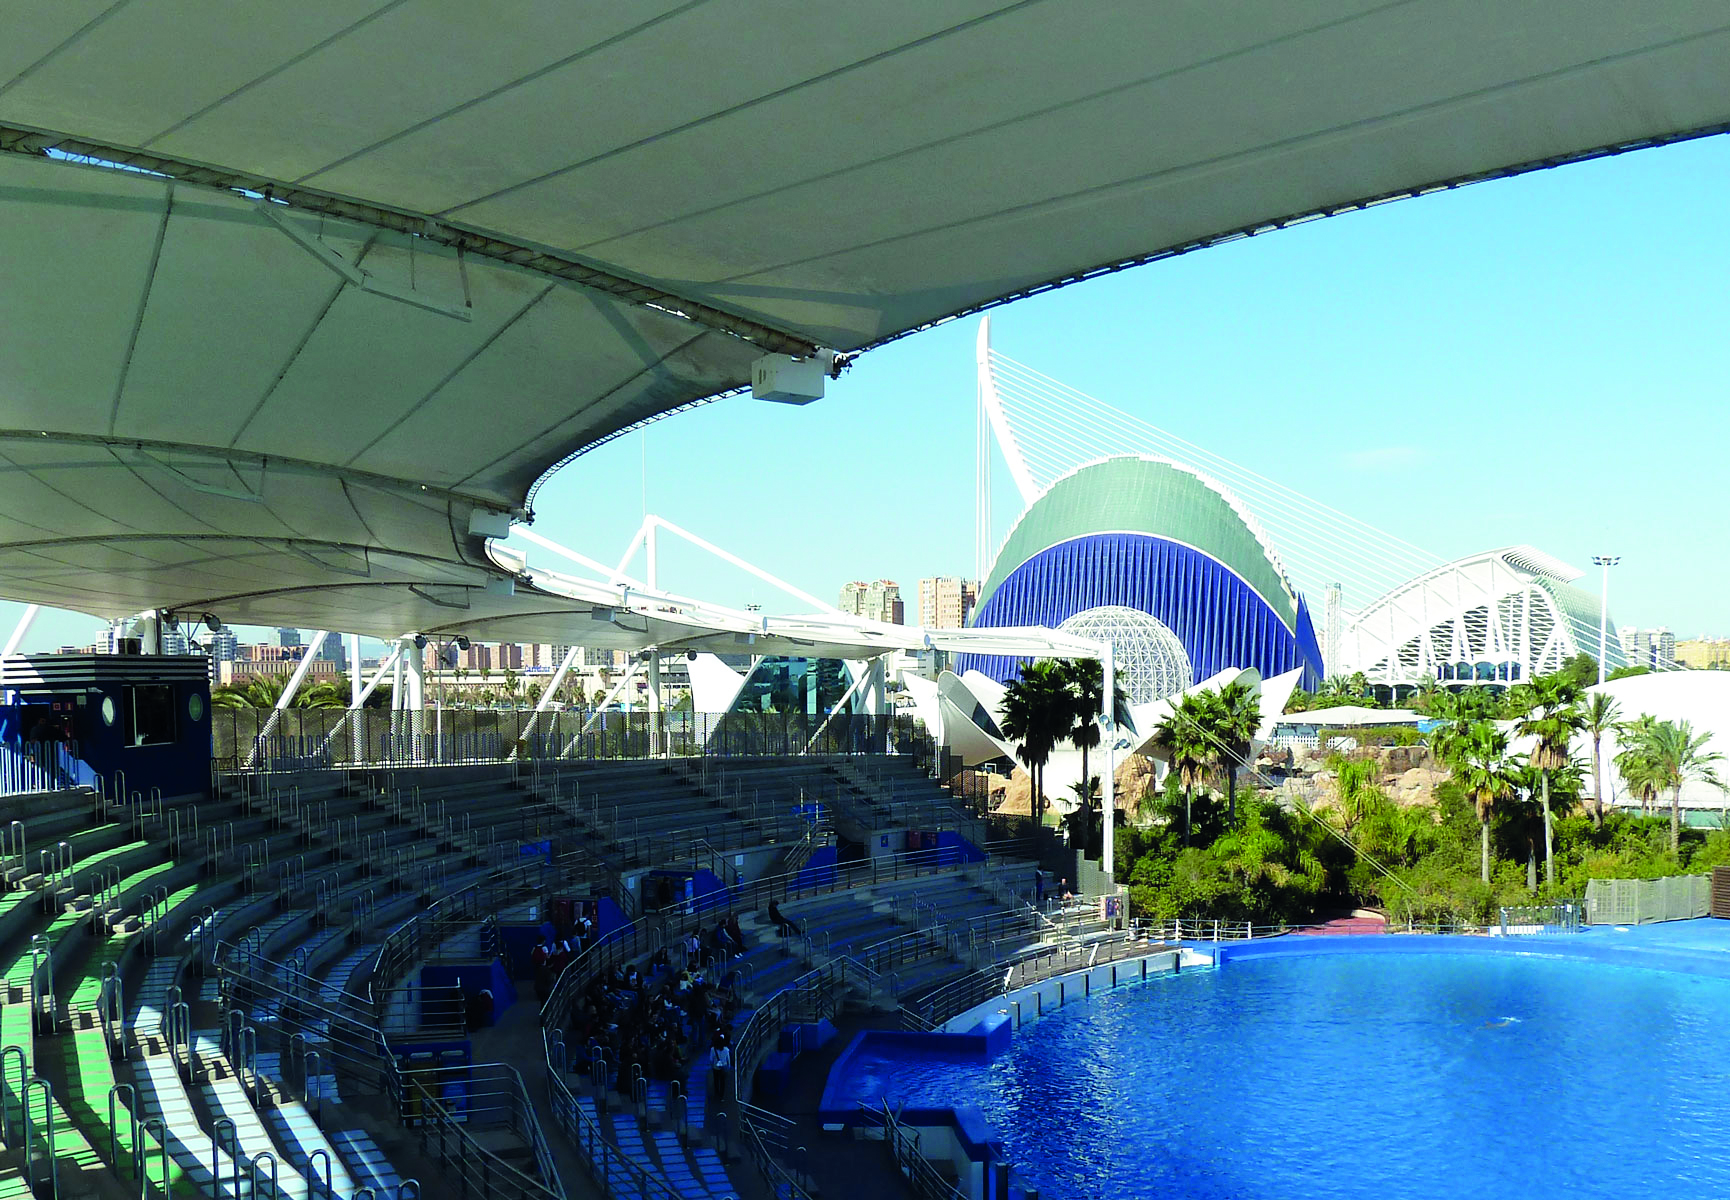
Oceanographic Sea World and Ionic column speakers
Better sound quality for the dolphins show: this was the objective of the park. And now they use ionic column speakers…
Read more
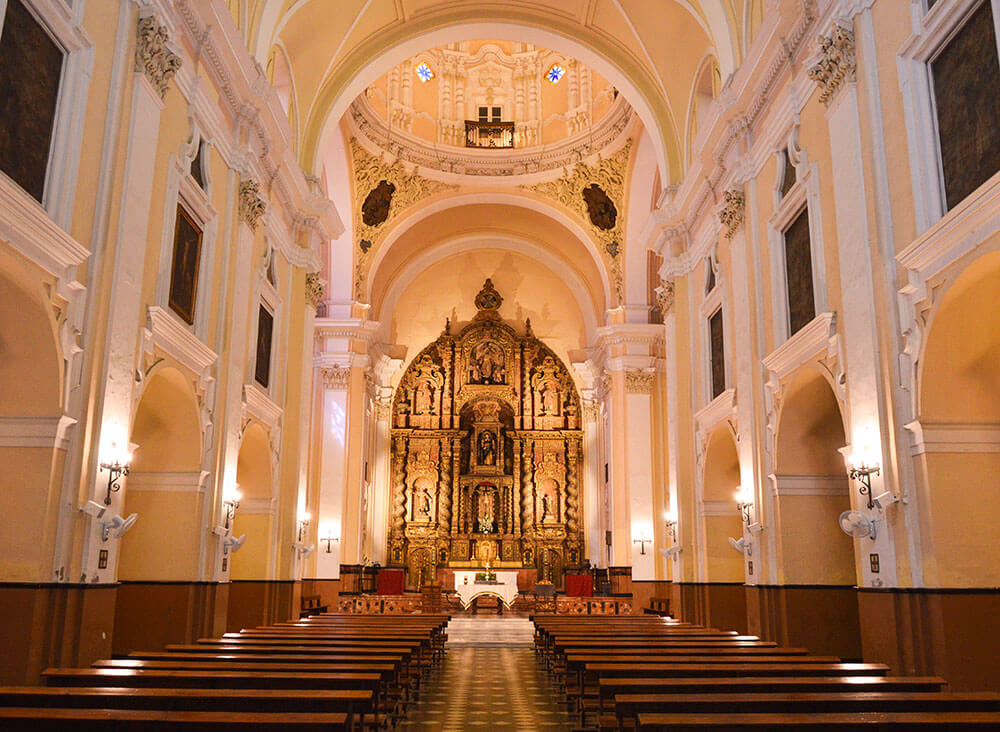
Lynx Pro Audio sound at San Jacinto Church in Seville
The church of San Jacinto in Seville (Andalusia, Spain) is the temple of a Dominican convent founded in the 17th century. It is located between…
Read more