


CLS Series
Coaxial line array speakers
The CLS (Coaxial Line Source) Series is our newest scalable line array solution.
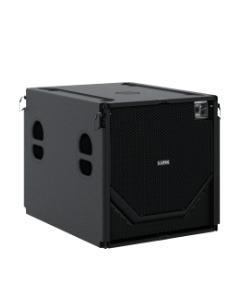
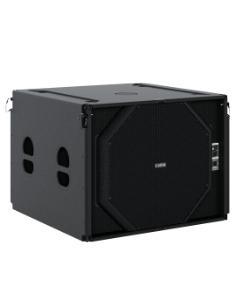
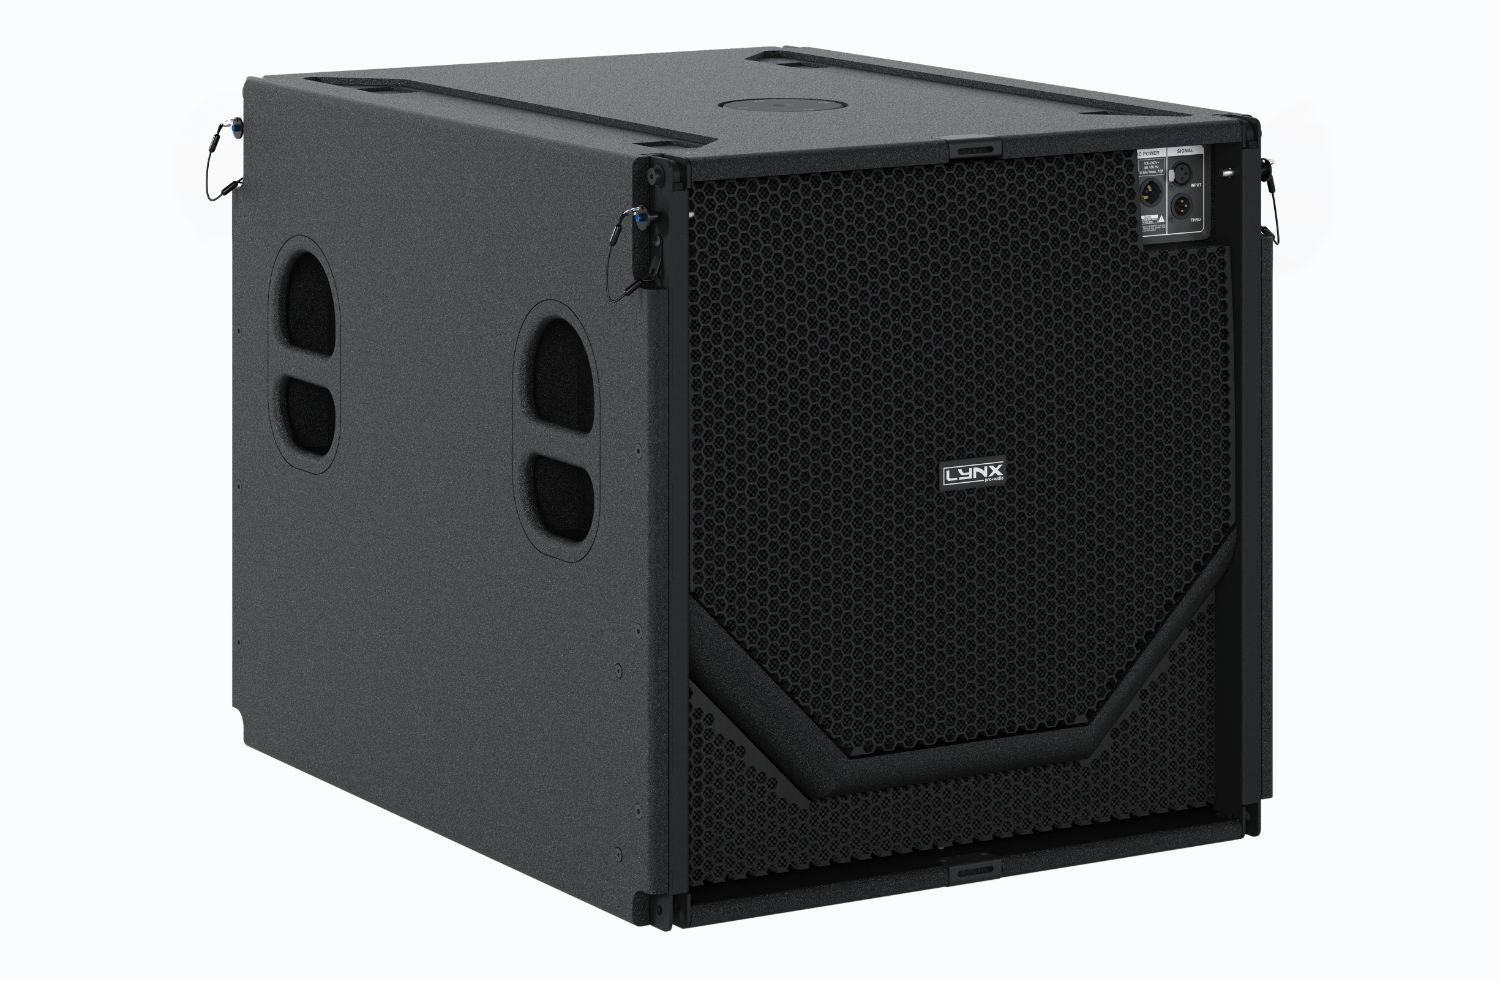
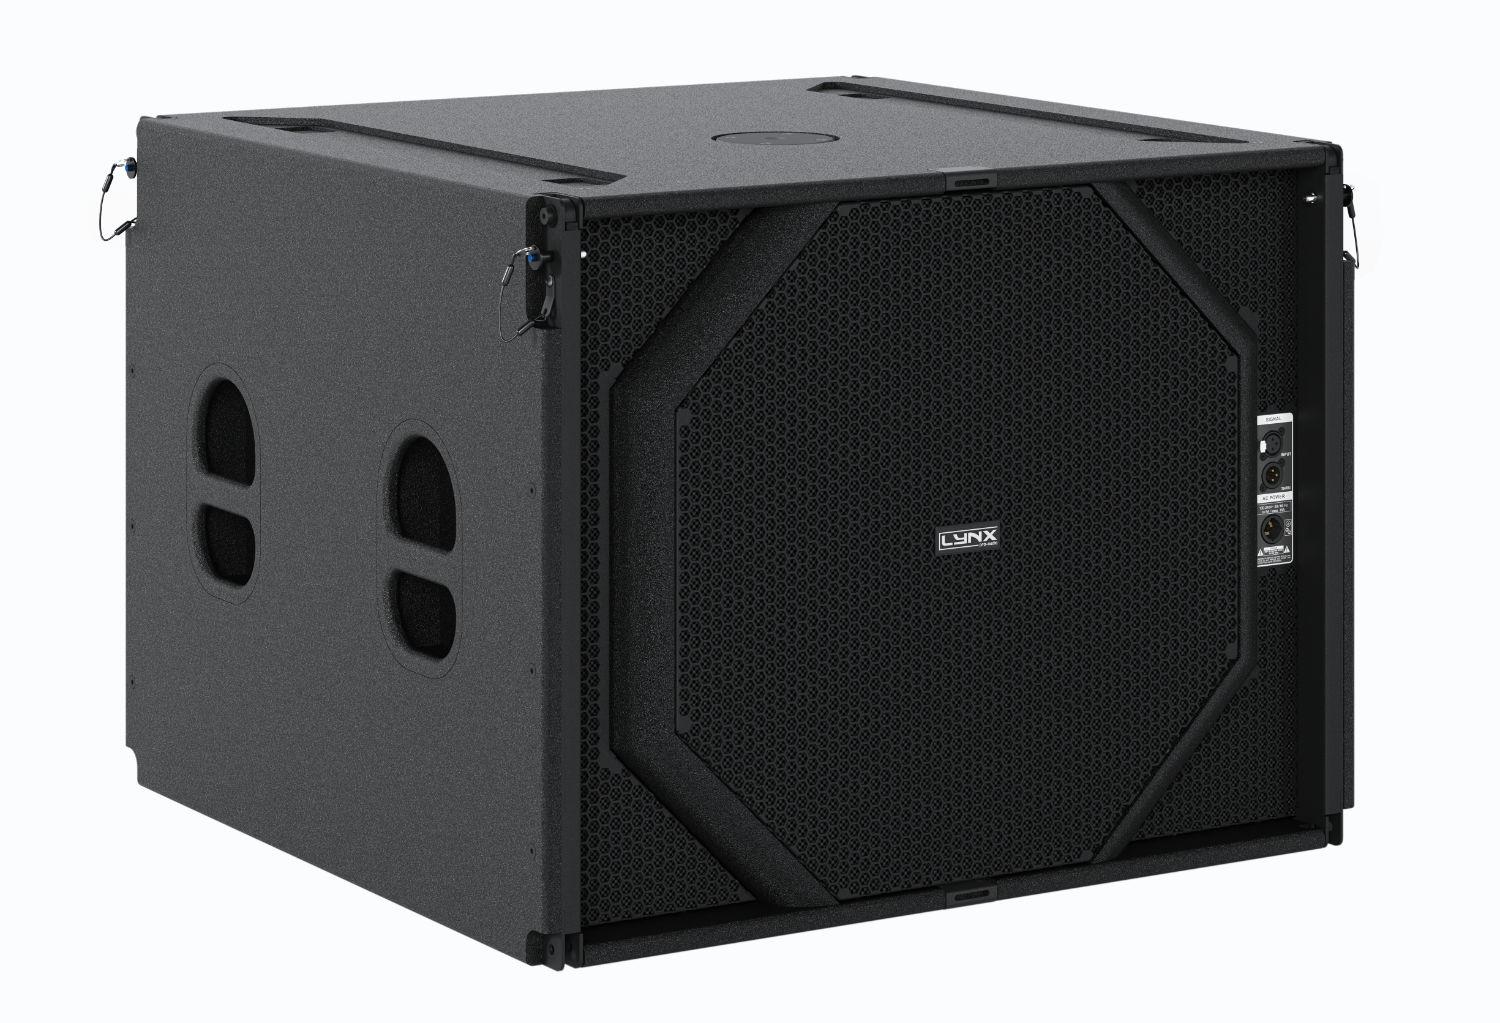
There are two full range cabinets available, CLS-212 & CLS-28 and three sub-bass options; CLS-121S, CLS-218S and CLS-118S all designed to offer incredible output in the most compact format possible. Extreme care has been taken to select and customize the most advanced components on the market, including coaxial Mid/high drivers together with full electronic synergy through the coupling of the system amplification & integrated DSP technology.
Total system control is also achieved through our 3D prediction software (Rainbow 3D) working together with our remote system management platform (OCS). These cutting edge softwares together with the CLS technology provides the most optimum and precise listening experience to every ear in the audience.
Perfectly suited for:
→ Outdoor events
→ Large stadiums / arenas
→ Houses of worship
→ Theatres
→ Auditoriums
Self Powered
All CLS series cabinets include class D amplification, with switching power supply. The integrated amplification far exceeds the transducers’ needs thus resulting in high output, high damping factor and extremely low levels of distortion on all of the Line Arrays.
CLS series are equipped with energy saving PFC (Power Factor Correction). The power supply regulates itself when AC mains change, so the amp power output will not change with mains swinging. It reduces the current draw in 40% approximately.

Digital Processing
All systems have a DSP integrated into each cabinet. This DSP, with double precision filters, 64bit internal processing and double dynamics (RMS & Peak) optimizes all the system components and electronics, providing maximum system efficiency and total protection whilst significantly and noticeably lowering distortion.
Digital Inclinometer
Built-in inclinometer system which modifies the EQ algorithms according to the angulation of the cabinet.
Online Control
Online system (Ethernet or PC) to control each cabinet in real time.
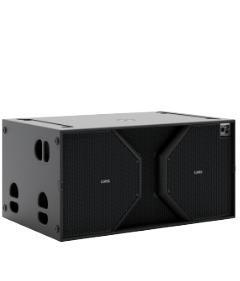
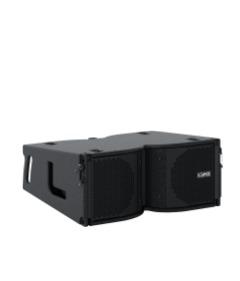 2 x 8″, 1 x 8″ dual diaphgram coaxial planar wave driver, 2800W
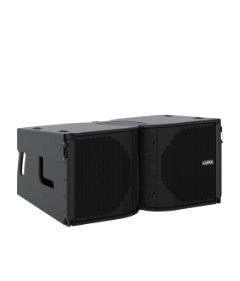
Active / passive available
 DSP configuration
DSP module configuration panel
On the back pannel of the cabinet you will find the digital control area. From the compact joystick located below the screen you are able to configure the basic adjustment functions of the internal DSP.
Just move the joystick to select the icons on the left of the screen. You can enter into the following functions: Home, settings, folder, configuration and information. Please note that you must apply the desired configuration in each one cabinet and requires electrical power to work.
If changes are not made the display will automatically dim to avoid unnecessary light in situations where light is not wanted. To re-activate the light simply press the joystick.
The following screens are an example and may vary slightly for each cabinet.
Configuration panel:
 |
HOME On the main screen you can see the cabinet’s input and output: • Input: You can see a vumeter with the input level and a clip signal. • Output: You have a vumeter with the output level (0 dBu is the amp’s maximum level) You can check the compressor and control the dynamic activity. |
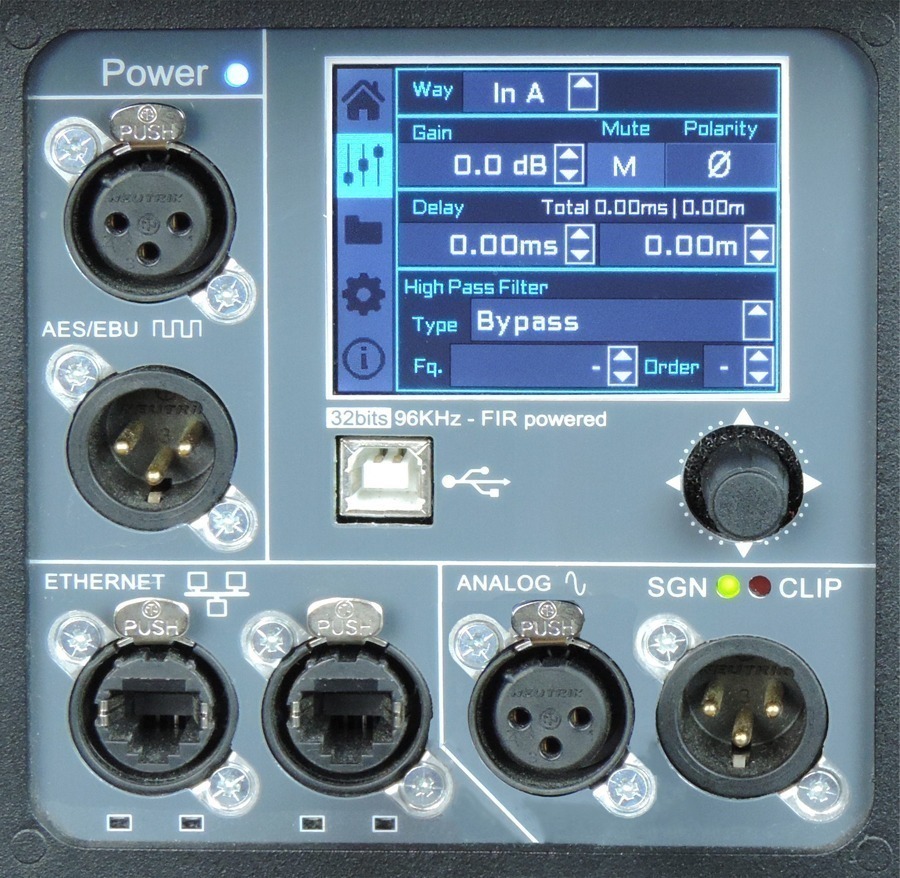 |
SETTINGS This panel allows you to change the gain, polarity, mute and the delay for the inputs. You also have the possibility of putting a high pass, changing the type of filter, frequency and order.
|
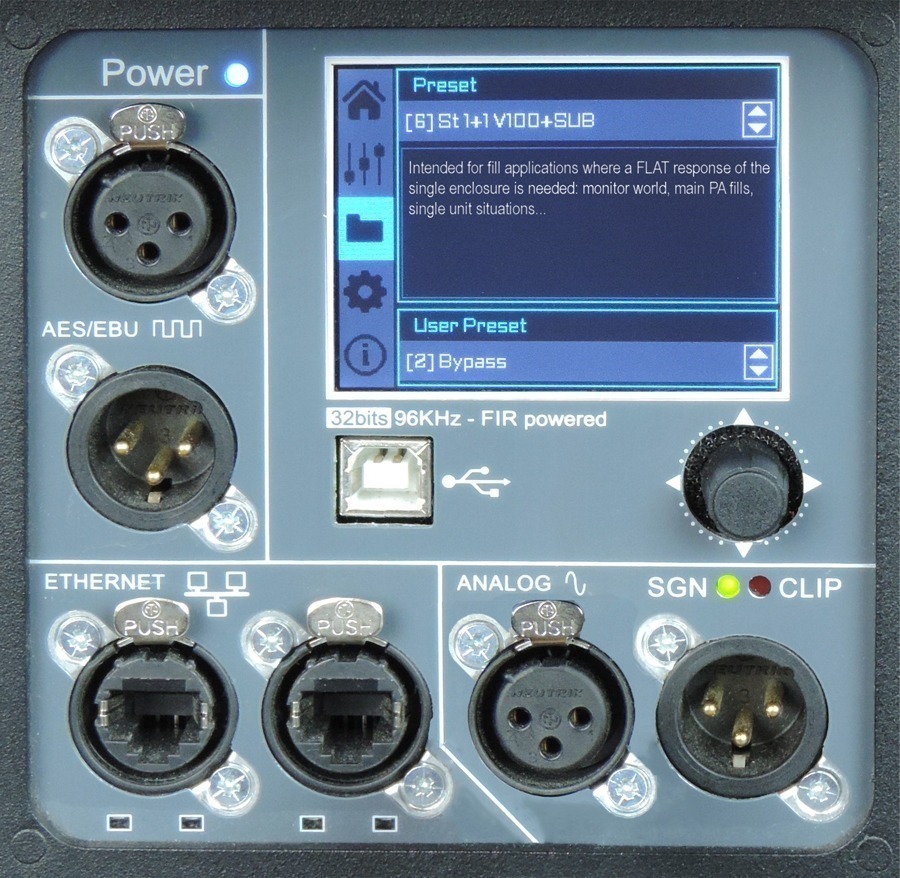 |
FOLDER The folder screen shows you the name of the preset and its description. Using the joystick you can change the preset. |
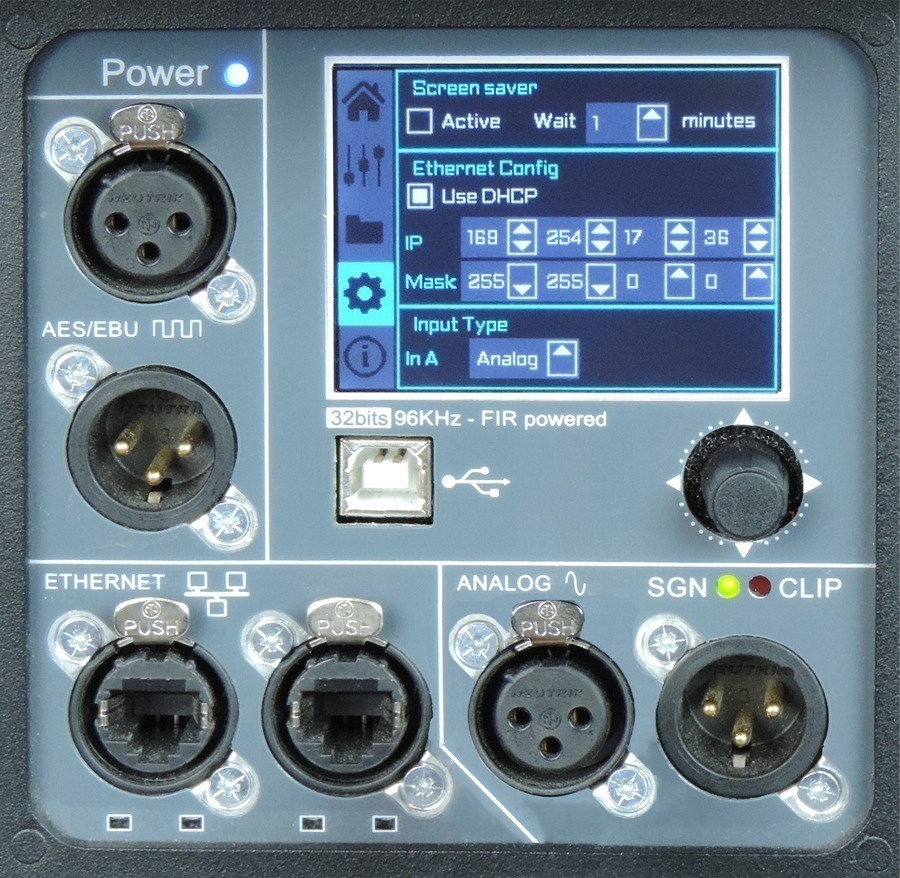 |
CONFIGURATION This screen is to configurate Ethernet. You can choose automatic or manual. You can also configure the screen saver. And here you have the input selection. You can choose between analog or AES3 for channel 1 or channel 2. |
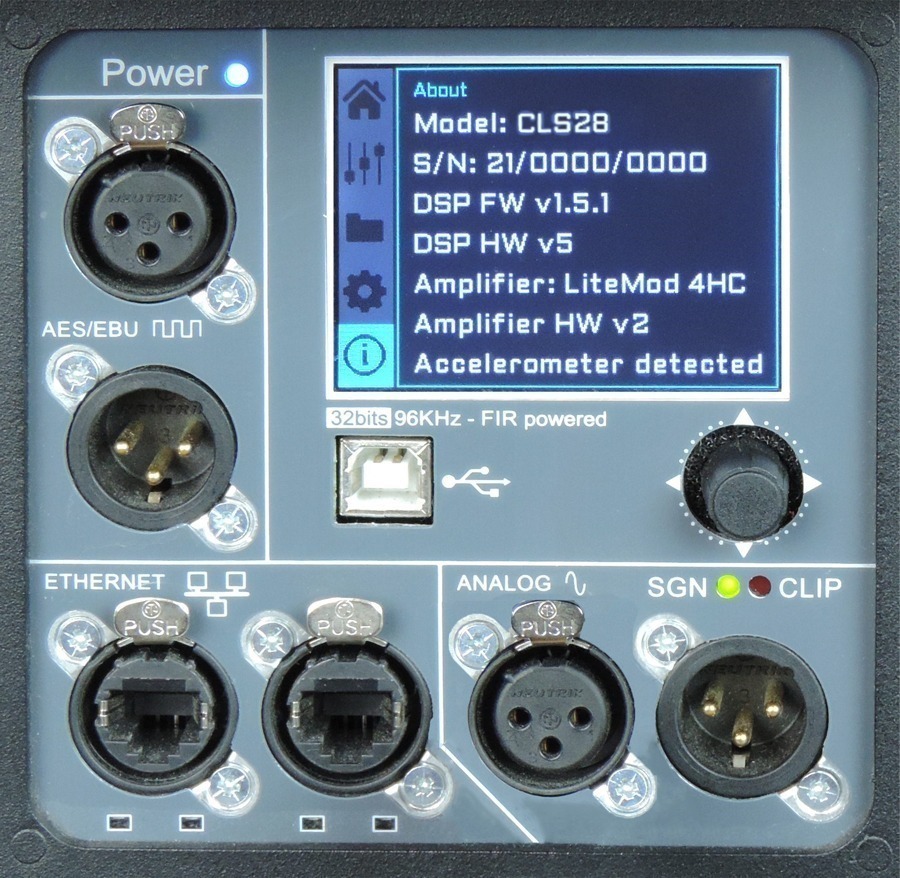 |
INFORMATION The last screen shows you some general information regarding the cabinet’s components. Here you can see the cabinet model, its serial number, DSP firmware and hardware versions, amp module model with hardware version, as well as the accelerometer status. |
Watch the following TUTORIAL to understand how it works:
DSP module configuration panel
On the back panel of the cabinet you will find the digital control area. From the compact joystick located below the screen you are able to configure the Basic adjustment functions of the internal DSP.
Just move the joystick to select the icons on the left of the screen. You can enter into the following functions: Home, settings, folder, configuration and information. Please note that you must apply the desired configuration in each one cabinet and requires electrical power to work.
If changes are not made the display will automatically dim to avoid unnecessary light in situations where light is not wanted. To re-activate the light simply press the joystick.
The following screens are an example and may vary slightly for each cabinet.
HOME
On the main screen you can see the cabinet’s input and output.
• Input: You can see a vumeter with the input level and a clip signal.
• Output: You have a vumeter with the output level (0 dBu is the amp’s maximum level) You can check the compressor and control the dynamic activity.
SETTINGS
This panel allows you to change the gain, polarity, mute and the delay for the inputs.
You also have the possibility of putting a high pass, changing the type of filter, frequency and order.
FOLDER:
The folder screen shows you the name of the preset and its description.
Using the joystick you can change the preset.
CONFIGURATION:
This screen is to configurate Ethernet. You can choose automatic or manual. You can also configure the screen saver.
And here you have the input selection. You can choose between analog or AES3 for channel 1 or channel 2.
INFORMATION:
The last screen shows you some general information regarding the cabinet’s components.
Here you can see the cabinet model, its serial number, DSP firmware and hardware versions, amp module model with hardware version, as well as the accelerometer status.
Watch the following TUTORIAL to understand how it works: