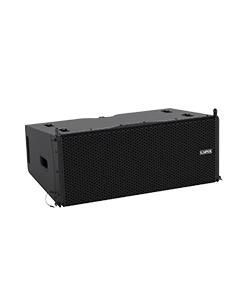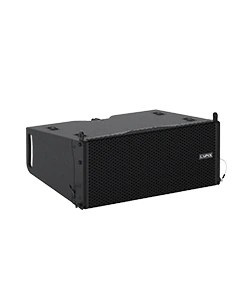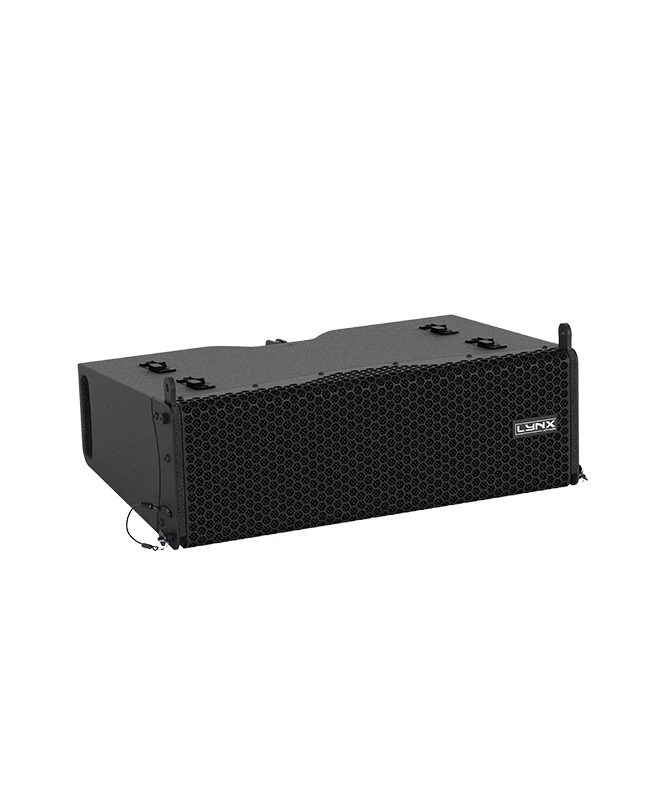
LAIA- 26
New compact line array
Bi-amplified enclosure that offers high levels of power from a compact system.
Description
The LAIA-26 enclosure is a ultra compact Line Array module that offers an ideal solution for a wide variety of indoor and outdoor applications where a compact, practical and reliable Line Array system is required. LAIA-26 is a self-powered 2-way system with a total of 1200W in class D, universal switching power supply. Equipped with a powerful next-generation 64-bit/96KHz DSP designed and manufactured by Lynx Pro Audio, it offers the most recent advances in digital processing, such as FIR filters, which offer linear frequency and phase response.
The latest 32-bit/96KHZ AD/DA converters make the system one of the most advanced and innovative line arrays on the market, resulting in superior sound quality. Additionally, LAIA series systems can be controlled remotely using the OCS control platform, giving the user the ability to control the systems without the need for external processors.
Key features
|
→ Class D Powered (bi-amplified) |
|
→ Integrated Digital Processing |
|
→ Internal temperature control |
|
→ Electronic protection |
|
→ FIR linear phase filtering |
|
→ Online monitoring available |
|
→ Two way active system |
Perfectly suited for:
| → Outdoor events | |
| → Theatres | |
| → Frontfill/downfill | |
| → Auditoriums | |
| → Interior live PA | |
| → Houses of worship | |
Technical Data
Components |
LF: 2 x 6”, 2” voice coil, waterproof treatment |
|
HF: 1 x 1” exit throat 1.75” voice coil |
|
| Frequency Range |
75 Hz – 20 KHz (-10 dB) |
|
Frequency response |
85 Hz – 18 KHz (± 3dB) |
|
Max SPL |
124dB / 130 dB Peak* |
|
Coverage |
100º H x 8 º V |
|
Power |
1200 W (2400 W peak) Class D with switching power supply LF amplifier: 1 x 800 W RMS, 1600 W peak HF amplifier: 1 x 400 W RMS, 800 W peak |
|
DSP Processing |
DSP Lite 96 KHz / 64 bit double-precision |
|
Control |
User control interface |
|
Control connections |
USB (DSP programming) / Dual Ethernet port |
|
Input |
Analog BAL/UNBAL XLR |
|
AC power |
90 – 264V. 50/60 Hz |
|
AC connections |
16A Neutrik powerCon true1 TOP with looping output |
|
Finish |
Polyurea coating, high grade resistant paint |
| Material |
15 mm premium plywood |
Dimensions |
181 x 549 x 356.8 mm (H x W x D) without pins |
| Weight | 15 Kg (33.07 lbs) |
* Calculated maximum SPL based on rated peak power and measured sensitivity

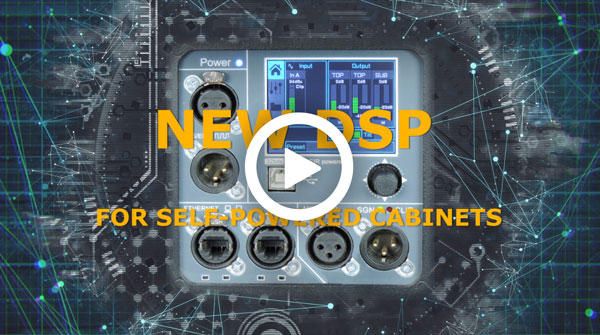
 DSP configuration
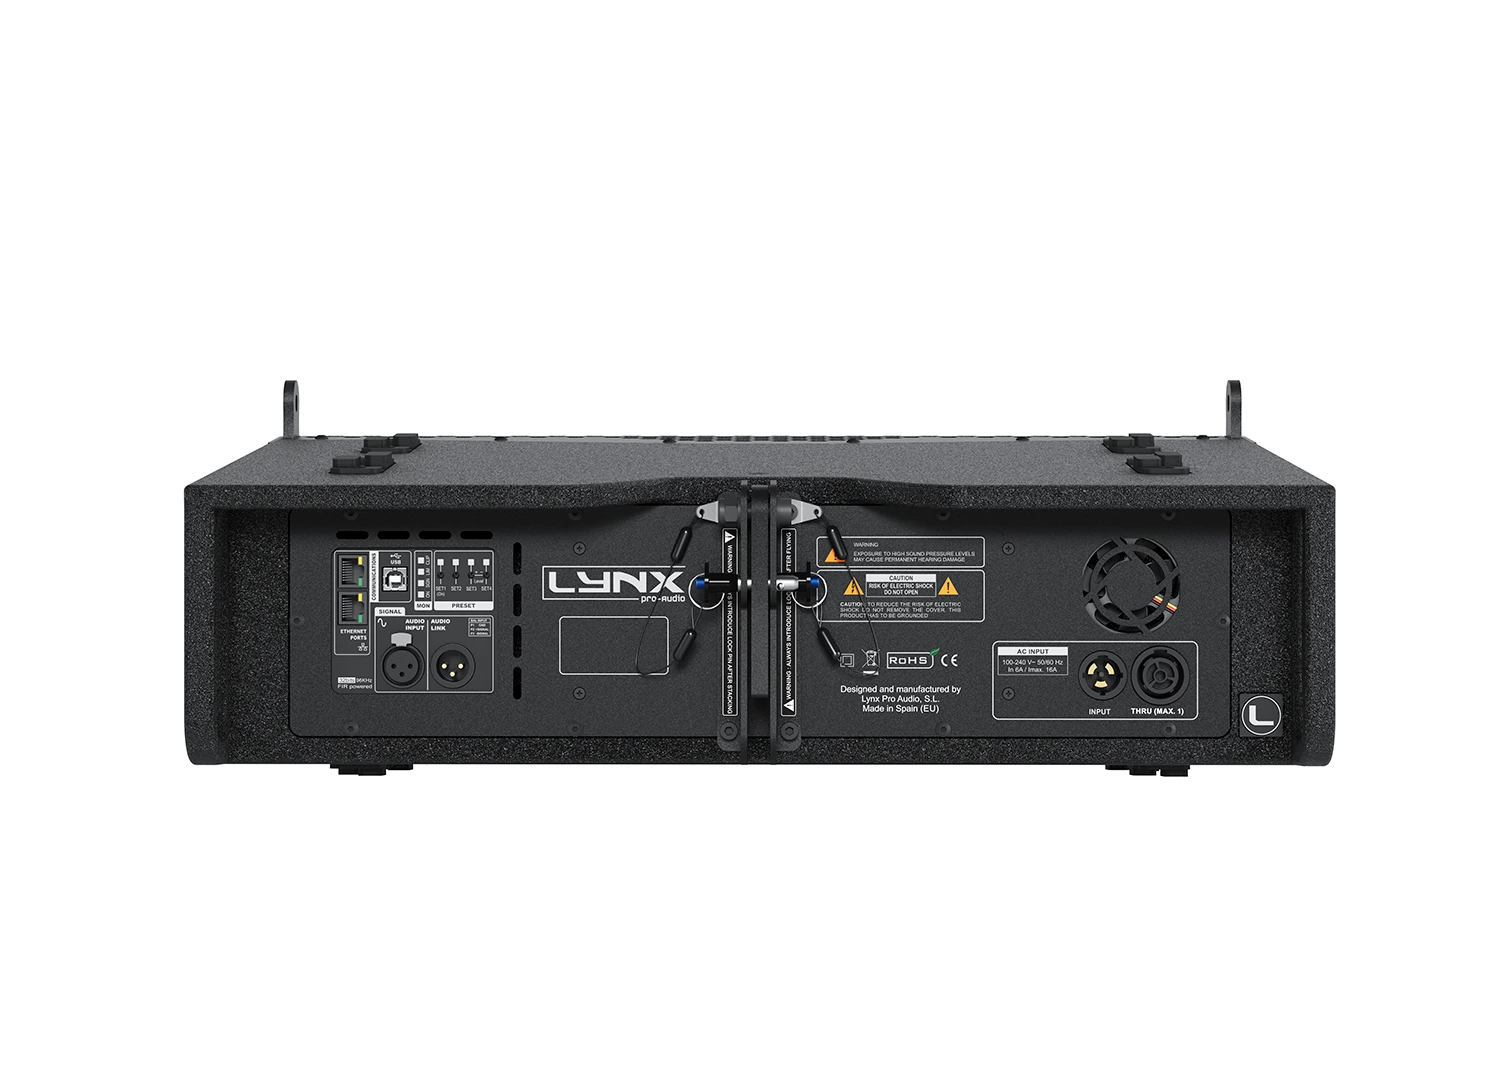
DSP module configuration panel
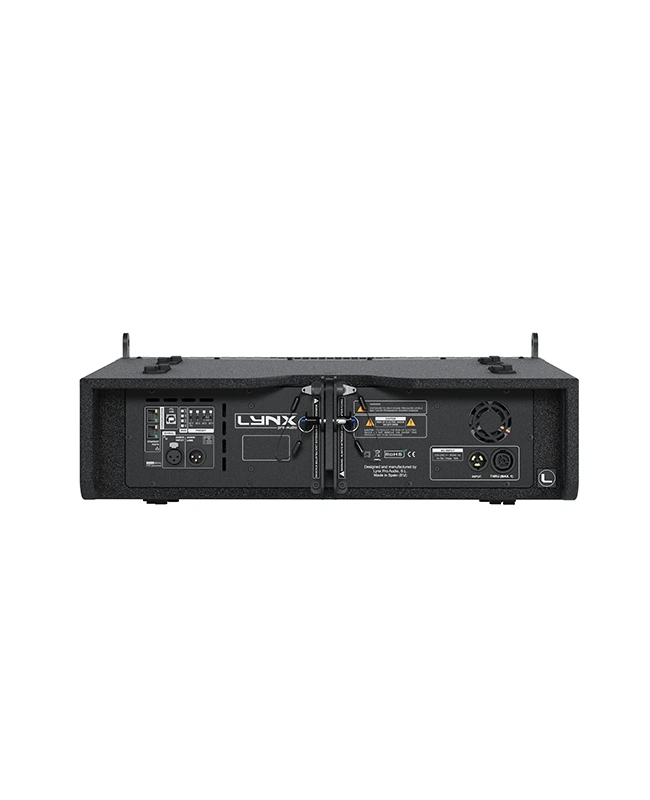
On the back pannel of the cabinet you will find the digital control area. From the compact joystick located below the screen you are able to configure the basic adjustment functions of the internal DSP.
Just move the joystick to select the icons on the left of the screen. You can enter into the following functions: Home, settings, folder, configuration and information. Please note that you must apply the desired configuration in each one cabinet and requires electrical power to work.
If changes are not made the display will automatically dim to avoid unnecessary light in situations where light is not wanted. To re-activate the light simply press the joystick.
The following screens are an example and may vary slightly for each cabinet.
Configuration panel:
 |
HOME On the main screen you can see the cabinet’s input and output: • Input: You can see a vumeter with the input level and a clip signal. • Output: You have a vumeter with the output level (0 dBu is the amp’s maximum level) You can check the compressor and control the dynamic activity. |
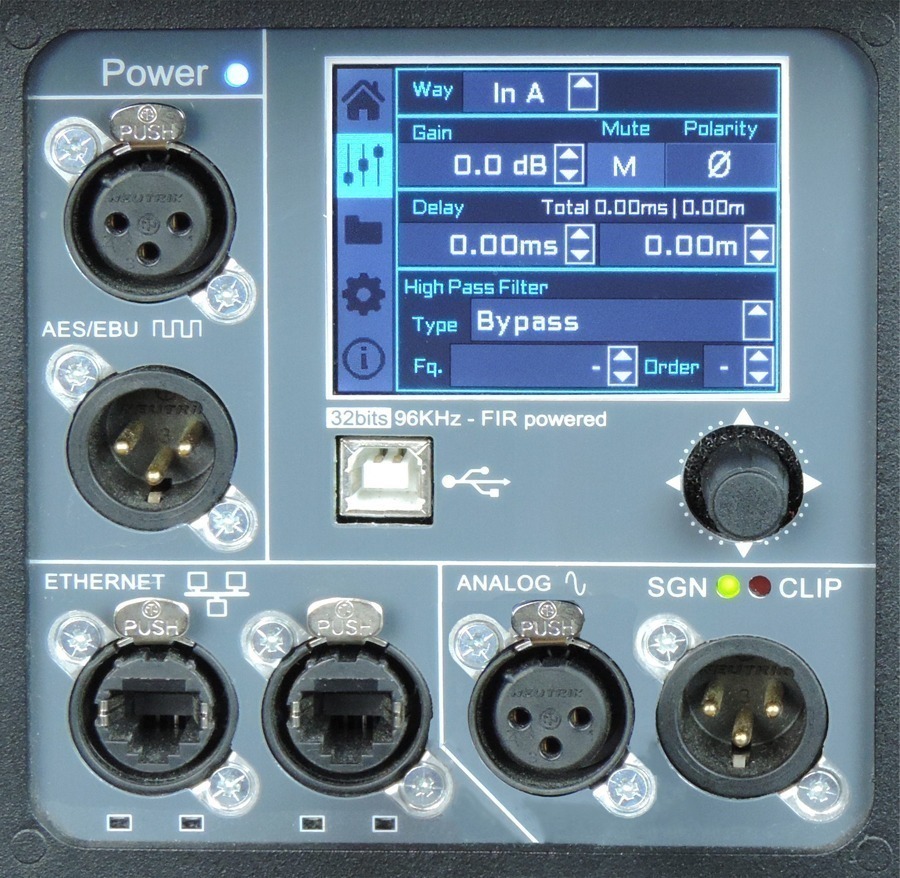 |
SETTINGS This panel allows you to change the gain, polarity, mute and the delay for the inputs. You also have the possibility of putting a high pass, changing the type of filter, frequency and order.
|
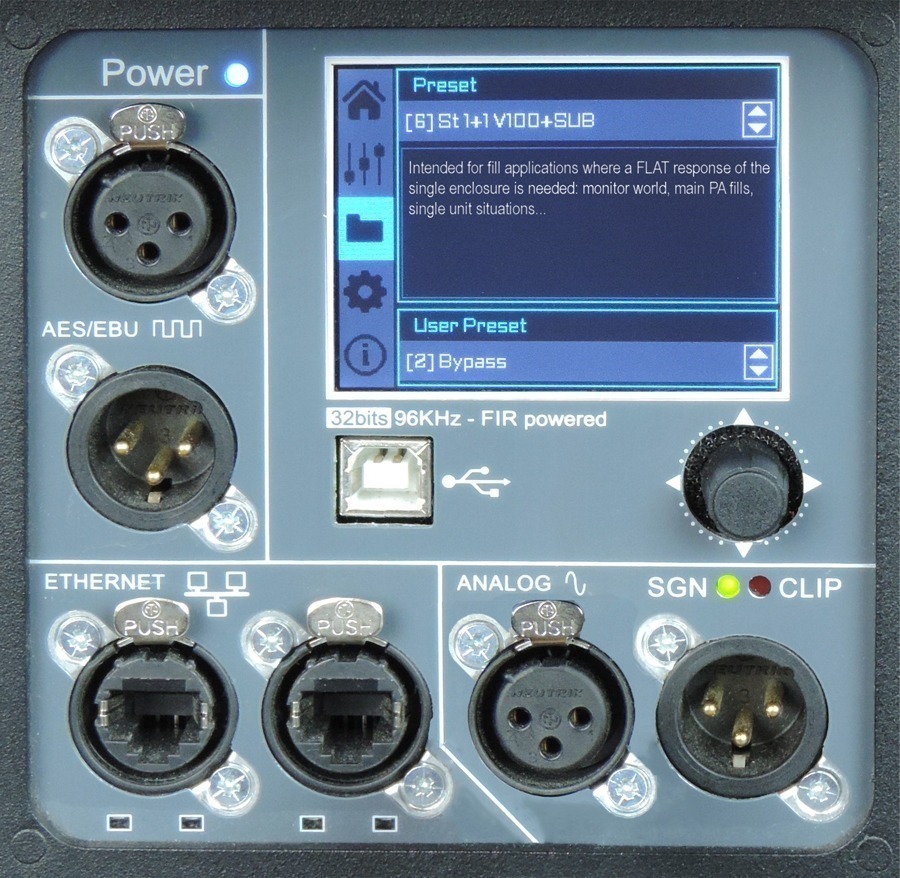 |
FOLDER The folder screen shows you the name of the preset and its description. Using the joystick you can change the preset. |
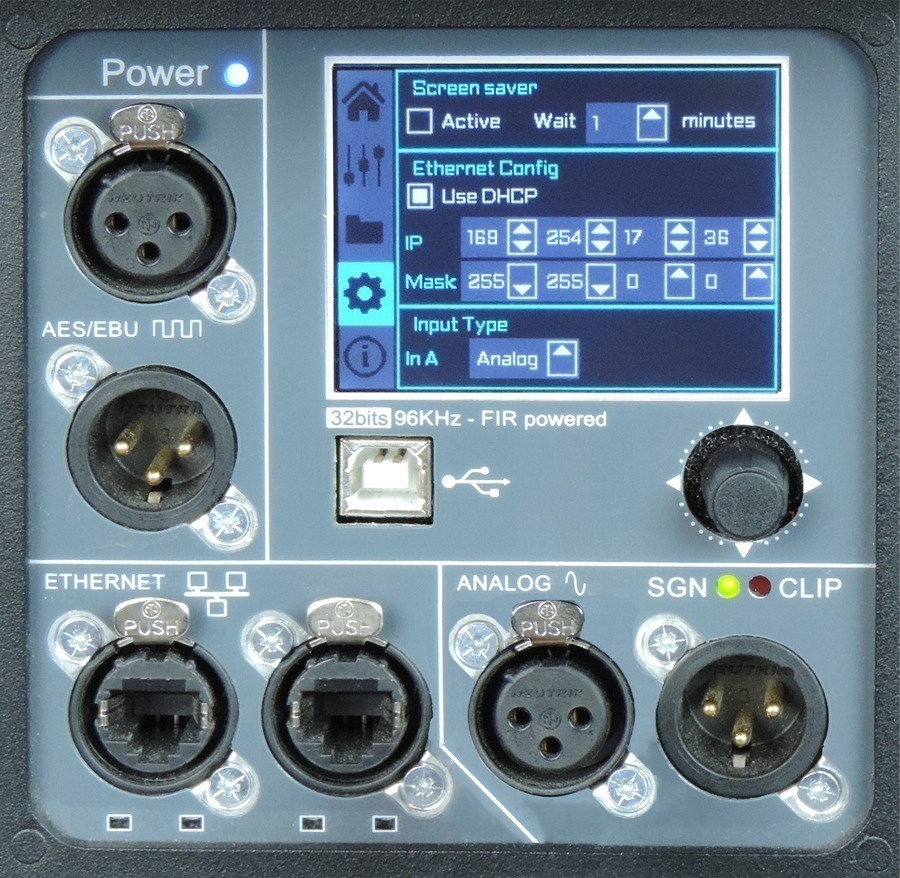 |
CONFIGURATION This screen is to configurate Ethernet. You can choose automatic or manual. You can also configure the screen saver. And here you have the input selection. You can choose between analog or AES3 for channel 1 or channel 2. |
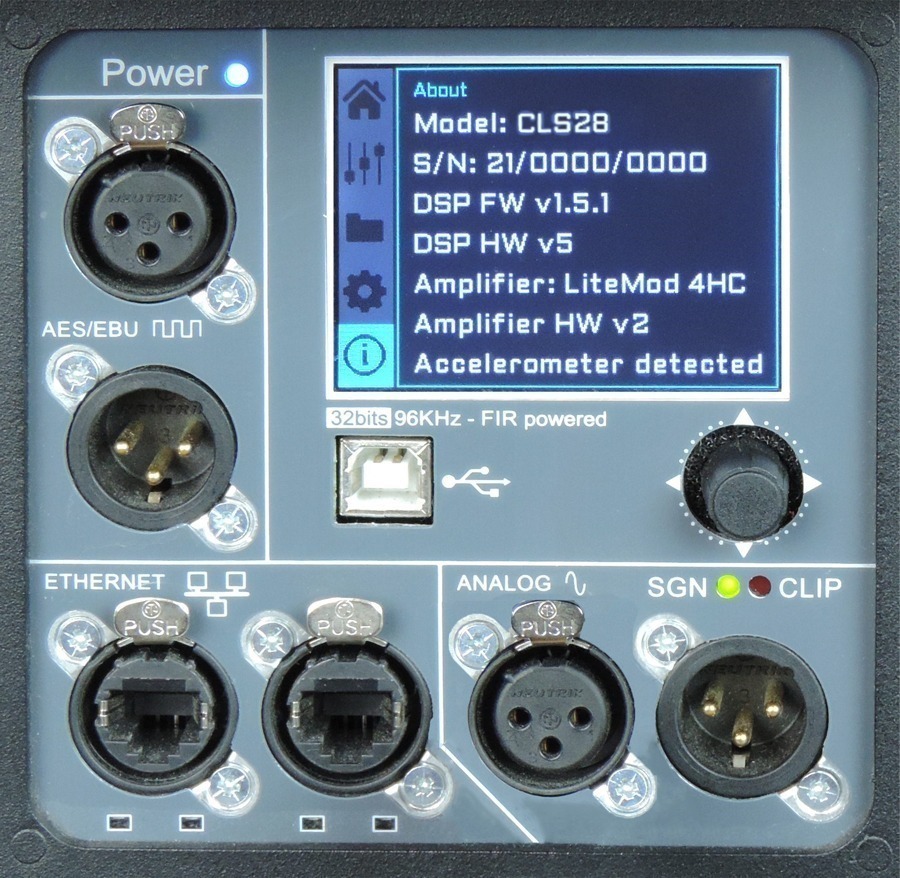 |
INFORMATION The last screen shows you some general information regarding the cabinet’s components. Here you can see the cabinet model, its serial number, DSP firmware and hardware versions, amp module model with hardware version, as well as the accelerometer status. |
Watch the following TUTORIAL to understand how it works:
DSP module configuration panel
On the back panel of the cabinet you will find the digital control area. From the compact joystick located below the screen you are able to configure the Basic adjustment functions of the internal DSP.
Just move the joystick to select the icons on the left of the screen. You can enter into the following functions: Home, settings, folder, configuration and information. Please note that you must apply the desired configuration in each one cabinet and requires electrical power to work.
If changes are not made the display will automatically dim to avoid unnecessary light in situations where light is not wanted. To re-activate the light simply press the joystick.
The following screens are an example and may vary slightly for each cabinet.
HOME
On the main screen you can see the cabinet’s input and output.
• Input: You can see a vumeter with the input level and a clip signal.
• Output: You have a vumeter with the output level (0 dBu is the amp’s maximum level) You can check the compressor and control the dynamic activity.
SETTINGS
This panel allows you to change the gain, polarity, mute and the delay for the inputs.
You also have the possibility of putting a high pass, changing the type of filter, frequency and order.
FOLDER:
The folder screen shows you the name of the preset and its description.
Using the joystick you can change the preset.
CONFIGURATION:
This screen is to configurate Ethernet. You can choose automatic or manual. You can also configure the screen saver.
And here you have the input selection. You can choose between analog or AES3 for channel 1 or channel 2.
INFORMATION:
The last screen shows you some general information regarding the cabinet’s components.
Here you can see the cabinet model, its serial number, DSP firmware and hardware versions, amp module model with hardware version, as well as the accelerometer status.
Watch the following TUTORIAL to understand how it works:
More features
Hardware for LAIA- 26
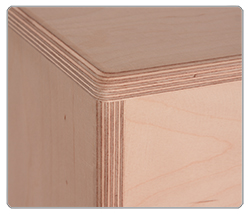 |
EnclosureThe LAIA-26 cabinet is constructed from 11-ply premium plywood (15mm thickness) and finished with polyurea coating |
 |
Internal designThe internal structure of the LAIA- 26 is heavily braced for greater longevity and all parts are assembled on metal inserts with metric screws. The amplification modules & DSP are housed in a separate chamber to the drivers avoiding excessive heat & vibration, thus delivering greater efficiency and reliability. |
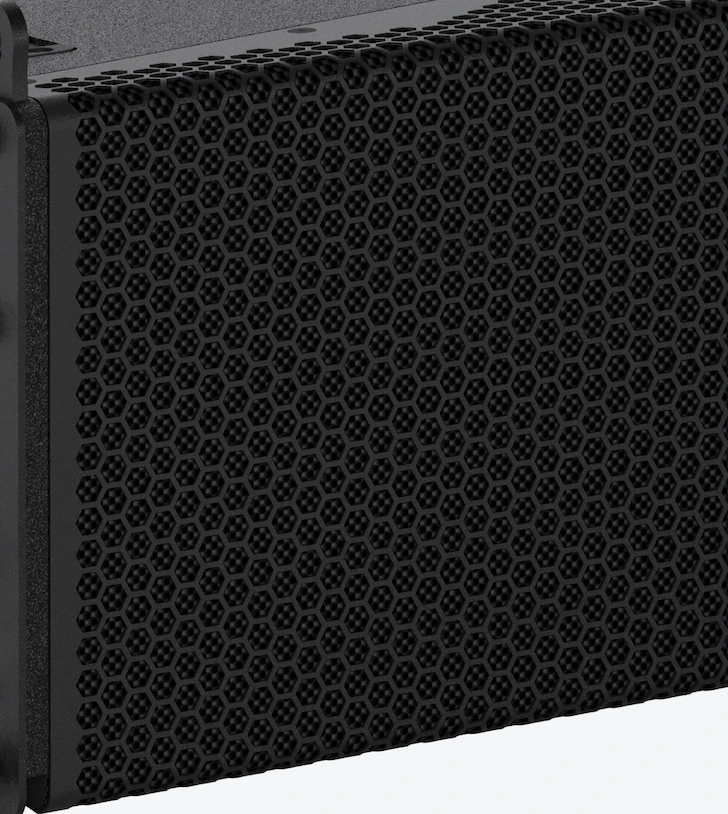 |
GrillThe LAIA-26 has two heavy duty, powder coated front grille with a special acoustic rear fabric to protect the transducers against dust and dirt. |
 |
RiggingThe 3 point rigging system with 2 front retractile levers and 1 centre/rear point enables up to 16 LAIA- 26 cabinets to be flown in a single array, with optional splay angles, from between 0º to 10º with 1º step increments to create the desired curve. The system can also be rigged and angled in retracted position enabling a much easier set-up without the need to lift each cabinet individually. |
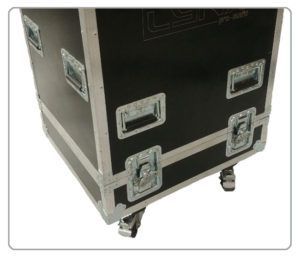 |
TransportThe LAIA-26 is easy to transport thanks to its dedicated flight case where it can be stowed in rest position. With craddle option: no need to lock pins. |
Accessories for LAIA-26
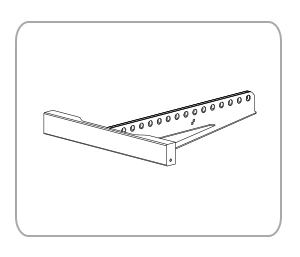 |
SV-LAIA26 Flying frame for LAIA-26 |
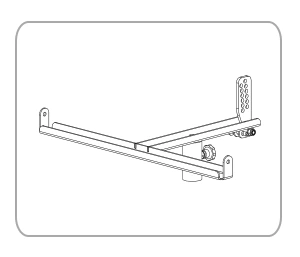 |
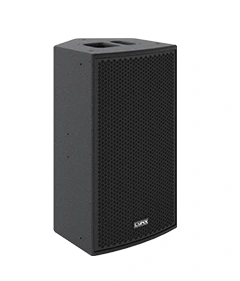
STRP-LAIA26 Pole frame for LAIA-26 |
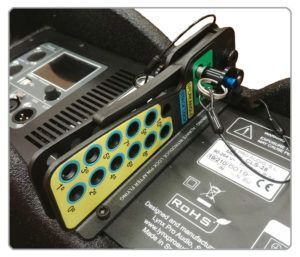
Backpanel detail
Click to expand.